How to Fix Warped Board Game Boards Without Damaging the Artwork
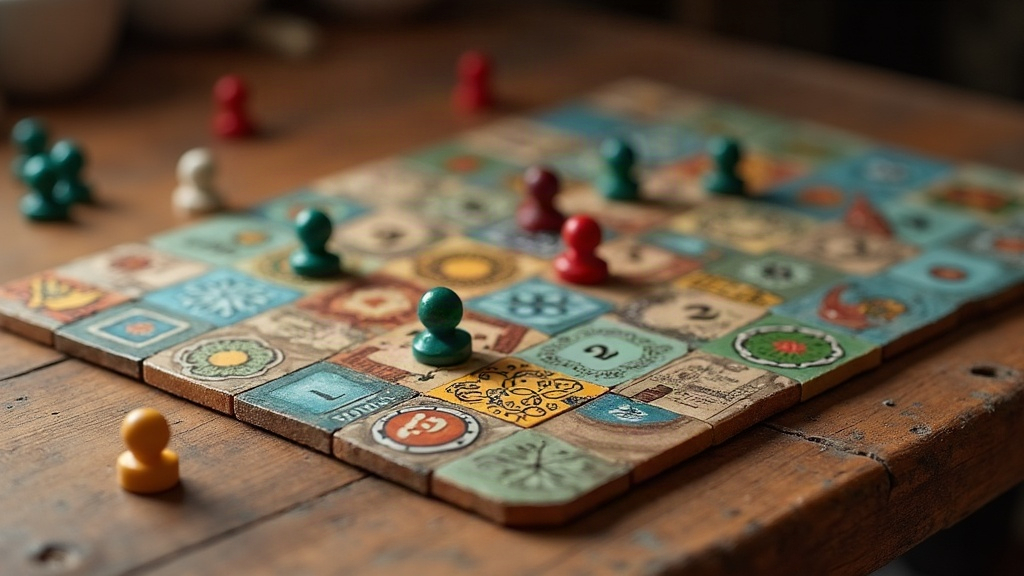
A warped board game board can turn family game night into a frustrating wrestling match with cardboard that just won’t lie flat. The good news? Most warps can be fixed at home with nothing fancier than a spray bottle, some heavy books, and a bit of patience. You don’t need to crack the cardboard core or scrub off the printed artwork to get there. This guide breaks down why boards warp in the first place, which flattening method actually fits your situation, and how to keep it from happening again.
Why Board Game Boards Warp in the First Place
Most game boards are built from layered cardboard or chipboard, topped with a printed paper or foil skin. Warping shows up when those layers absorb or lose moisture unevenly, so one side expands or shrinks faster than the other. A few usual suspects:
- Humidity swings — basements, attics, and garages are prime offenders here.
- One-sided exposure — think of a board left flat against a damp wall or a cold concrete floor for months.
- Heat damage — games forgotten near radiators, sunny windowsills, or baking in a car trunk in July.
- Poor storage posture — a folded board buried under a stack of heavier boxes for years on end.
Knowing the cause actually matters, because it points you toward the fix that will work. A board warped by a hot attic doesn’t respond the same way as one warped by a leaky basement pipe.
Step 1: Assess the Damage Before You Touch Anything
Don’t jump straight to fixing. Look first.
- Check the fold lines for cracking or a splitting fabric hinge, something you’ll see a lot on older games from the 70s and 80s.
- Look at the printed surface for peeling, bubbling, or flaking ink. These spots are fragile and don’t take well to added moisture.
- Figure out the warp direction — is it curling up at the edges (concave, like a shallow bowl) or bowing outward in the middle (convex, like a tent)?
If the artwork is already lifting or flaking anywhere, skip the moisture-based methods entirely and jump to the dry pressing technique below. Adding humidity to peeling ink is basically asking for more peeling.
Method 1: The Slow, Even-Pressure Flattening (Best for Mild Warps)
This is where nearly everyone should start.
- Lay the board flat on a clean, dry surface, artwork facing up.
- Place a sheet of acid-free tissue paper or plain parchment paper directly over the printed side, this protects it from pressure marks and texture transfer.
- Cover with something rigid and flat, slightly bigger than the board itself. A large hardcover book or a scrap of plywood both work fine.
- Add weight gradually. Start with two or three heavy books on day one, then build up over the next 2-3 days.
- Leave it under pressure for 5 to 7 days, checking daily to make sure no ink or texture is bleeding onto the tissue paper.
Since this method relies entirely on sustained pressure, no heat, no water, it’s the lowest-risk option if you’re worried about the artwork.
Method 2: Controlled Humidity Correction (For Moisture-Warped Boards)
If uneven moisture caused the warp, sometimes the fix is a small, controlled dose of moisture on the opposite side.
- Lightly mist the underside of the board (never, ever the printed side) with a fine spray bottle. You’re dampening it, not soaking it, think one or two light passes.
- Sandwich the board immediately between two flat boards, with a barrier layer like wax paper between the artwork and anything that could touch it with moisture.
- Apply even weight, same as in Method 1.
- Let it dry slowly over 3-4 days in a room with stable humidity. Skip the sunny window or the spot next to the heating vent.
The logic here: rehydrate the drier side just enough to match the more expanded side, so the board relaxes back into shape as both sides dry at the same rate.
Method 3: Heat-Assisted Flattening (Use With Caution)
For boards that warped from heat rather than moisture, a little indirect warmth can help nudge them back.
- Sandwich the board between two flat boards, same setup as before.
- Use a low-heat source placed nearby, not touching the board. A room with a space heater running a few feet away works better than anything direct.
- Combine with steady weight for several days.
Skip hair dryers, clothes irons, and direct sunlight altogether. These dry things unevenly and fast, which tends to make warping worse, not better, and can scorch or fade the artwork in the process.
What to Avoid
- Never put a clothes iron or heat gun directly on the board. That’s a fast way to melt laminate coatings or discolor the ink.
- Don’t soak the board in water. It dissolves the adhesive holding the paper layer to the cardboard underneath, and that damage is permanent.
- Skip metal binder clips on the artwork. They leave dents that are basically impossible to remove later.
- Don’t rush drying with fans or a hairdryer. Fast, uneven drying is exactly what caused the warp in the first place, so it just brings it right back.
Preventing Future Warping
- Store games flat, never on edge, in a space with stable temperature (roughly 65-75°F) and moderate humidity.
- Toss a couple of silica gel packets into the box if you live somewhere humid.
- Don’t pile heavy boxes on top of game boxes in storage.
- For vintage or valuable games, archival sleeves or backing boards are worth the small investment.
Final Thoughts
Fixing a warped board really comes down to patience more than skill: steady, gentle pressure paired with the right amount of moisture or warmth will reshape almost any board without touching the artwork underneath. Start with the gentlest method you can, protect the printed surface every step of the way, and if you’re not sure how a technique will react, test it on a small hidden corner first. Do it right, and even a warped, decades-old classic can come back flat, playable, and worth putting on the shelf again.